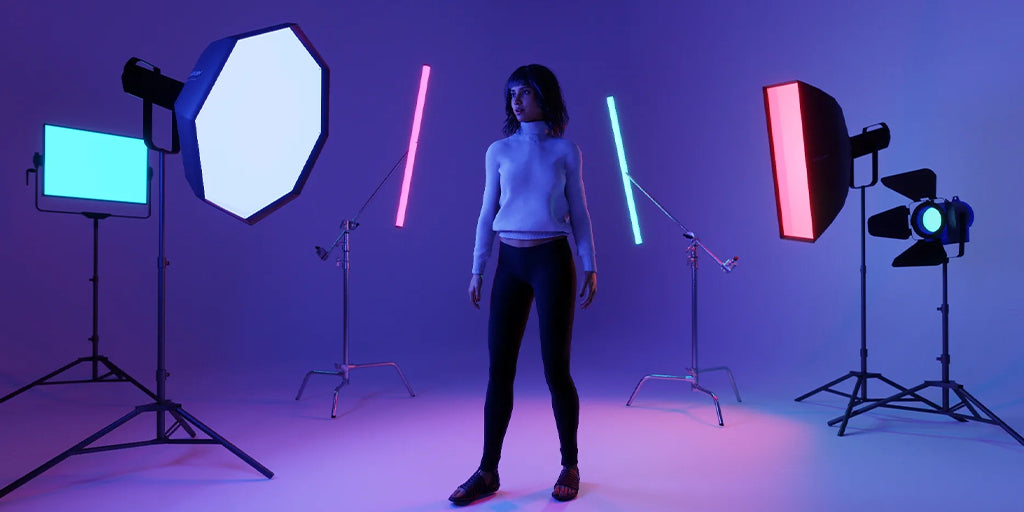
Three-point lighting is one of the most fundamental and widely used lighting setups in photography and video production. Whether you’re shooting portraits, product images, interviews, or creative scenes, this technique gives you control over brightness, shadows, and overall mood.
This guide breaks down the setup in a simple, beginner-friendly way so you can start using it confidently.

What Is Three-Point Lighting?
Three-point lighting uses three individual light sources, each serving a distinct purpose:
1. Key Light – Your main source of illumination
2. Fill Light – Softens the shadows created by the key light
3. Back Light (Rim/ Hair Light) – Separates the subject from the background
When these three lights work together, they create depth, dimension, and a natural-looking result.

1. The Key Light — Your Main Source of Light
The key light is the strongest and most influential light in the setup. It defines the subject’s shape, features, and mood.
Where to Place It
·Typically 30–45° to the side of the subject
·Slightly above eye level
·Angled downward for a natural look
How It Affects the Image
Bright, crisp illumination
Creates the primary shadows
Sets the overall exposure
Beginner Tip
If you only have one light, use it as your key light. It is the foundation of every lighting setup.

2. The Fill Light — Softens and Balances Shadows
The fill light brightens the dark areas created by the key light without overpowering it.
Where to Place It
·Opposite the key light
·Lower intensity
·Often positioned closer to the camera
What It Does
·Reduces harsh shadows
·Gives the image a softer, more balanced feel
·Helps maintain natural skin tones
Fill Light Alternatives
If you don’t have a second light:
·Use a reflector
·Use a white wall or foam board to bounce light
·Lower the intensity of your key and increase ambient light
These simple tools can act as excellent fill sources.
3. The Back light — Creates Separation and Depth
The back light (also called rim or hair light) adds dimension by illuminating the subject from behind.
Where to Place It
·Behind the subject, aimed at their shoulders or hair
·Higher than the subject
·Direct or slightly diffused depending on the look you want
What It Adds
·A glowing edge or highlight
·Separation from the background
·A more cinematic, professional appearance
Beginner Tip
Avoid pointing the back light directly into the lens to prevent flares unless that’s the effect you want.
How to Balance Three Lights
Getting a clean, professional look comes down to light ratios—the relative brightness between your key, fill, and back lights.
Common Beginner-Friendly Ratios
Key : Fill = 2:1
Natural, soft, ideal for portraits
Key : Fill = 4:1
More dramatic contrast
Back Light = equal to or slightly brighter than fill
Enough to create separation without overpowering the scene
What Happens When You Change the Ratios
Stronger fill = softer, flatter image
Weaker fill = more dramatic shadows
Brighter back light = stronger outline
Dimmer back light = subtle separation
Experiment with these levels to find the mood that fits your style.

Modifiers Make a Big Difference
Light modifiers dramatically influence how each light behaves:
Softboxes → Soft, even light
Reflectors → Direct and strong
Umbrellas → Wide, diffused illumination
Grids → Focused, controlled beams
Diffusion sheets → Smooth out harshness
Using the same light but changing the modifier can completely reshape the look of your image.

Practical Three-Point Setups for Beginners
Portrait Photography
·Soft key light angled at 45°
·Gentle fill light or reflector
·Subtle back light for separation
Product Photography
·Key light shaping the product
·Stronger fill to reduce shadows
·Back light to define texture or edges
Video Interviews
·Soft, diffused key
·Controlled fill to maintain clean skin tones
·Back light to define the subject from the background
These setups work even in small living rooms, home studios, or outdoor locations.

Common Mistakes to Avoid
Using all lights at the same brightness → Results in flat imagesPlacing key light too high → Creates unflattering deep shadows
Strong back light → Overexposed edges
No fill light → Shadow-heavy, uneven results
Ignoring background lighting → Subject may look disconnected
Final Thoughts
Three-point lighting is simple, flexible, and works with almost any subject or style. Once you understand the purpose of each light, you can modify, adapt, and even break the rules to create your own look.
Mastering this technique gives you a strong foundation for all future lighting setups—whether you use professional lights, simple LED panels, or even natural light with reflectors.


0 comments